Everyone wants his iPhone ringtone to be personalized,and sometimes want to make iPhone ringtone from a clip of their favorite DVD, movie or songs. Here I found a easy way to achieve this target for iPhone ringtone, hope it helpful.
The tools you need are Aiseesoft DVD to iPhone Suite and iPhone PC Suite (free), download links are as following:
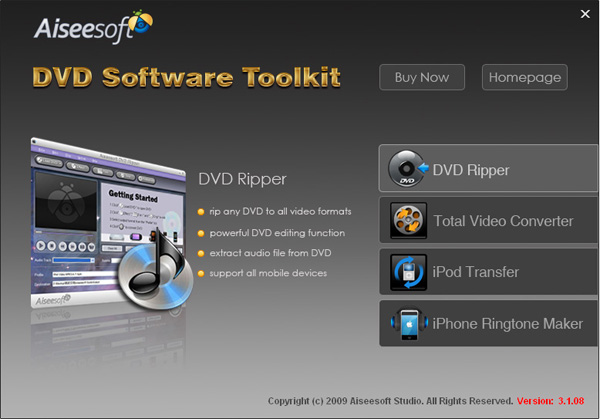
Aiseesoft iPhone Converter Suite:
http://www.aiseesoft.com/downloads/dvd-to-iphone-suite.exe
iPhone PC Suite (Totally free)
http://www.free-codecs.com/download/iPhone_PC_Suite.htm
Note: iPhone PC Suite has to run under Microsoft .NET Framework, you can download it from: http://www.microsoft.com/downloads/details.aspx?FamilyID=333325fd-ae52-4e35-b531-508d977d32a6&DisplayLang=en
The iPhone ringtone guide is composed of 3 parts:
1. How to extract audio to ringtone from DVD?
2. How convert audio and video to iPhone ringtone?
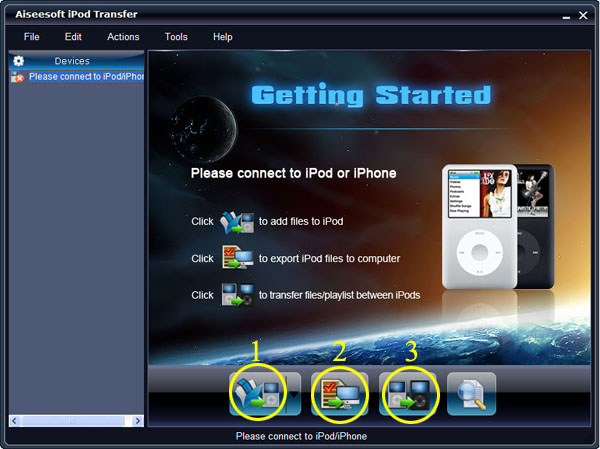
3. How to sync/ put ringtone to iPhone without iTunes
Part 1 How to make iPhone ringtone from DVD?
Install Aiseesoft DVD to iPhone Suite and run it. For Windows Vista user, you may have to run this program as Administrator, right click the program shortcut and click “Run as Administrator”.
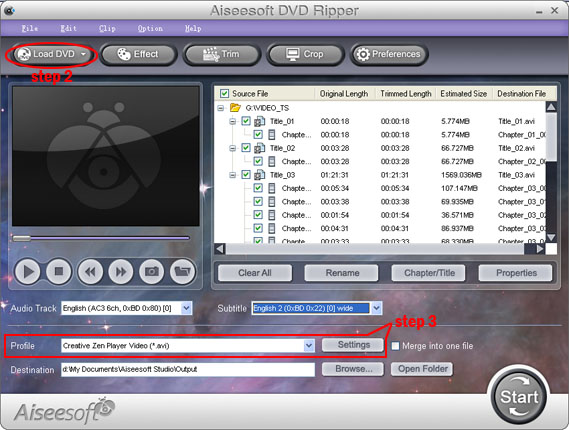
Run the DVD to iPhone Converter load your DVD by clicking “Load DVD” button, you also can load IFO file from your hard drive by clicking “Load IFO File” button.
Click drop down list and select iPhone supported format (AAC, MP3, WAV, etc.) you want: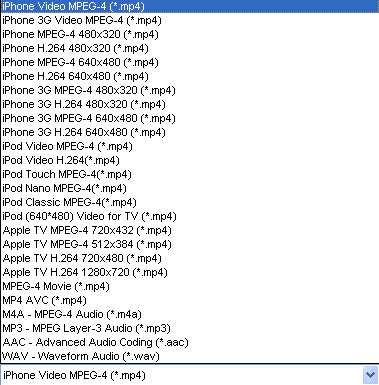
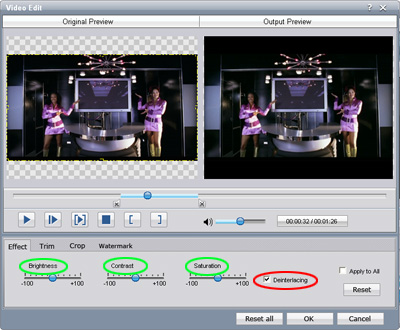
You can also customize the sample rate, bit rate and other parameters of your iPhone ringtone by click “setting”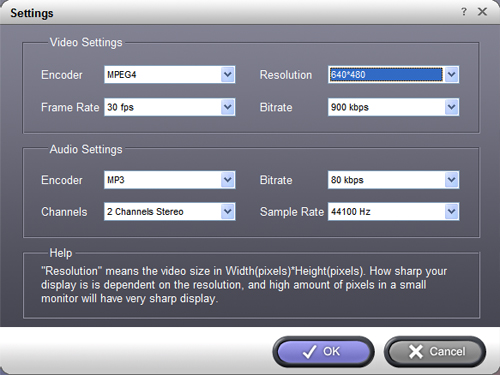
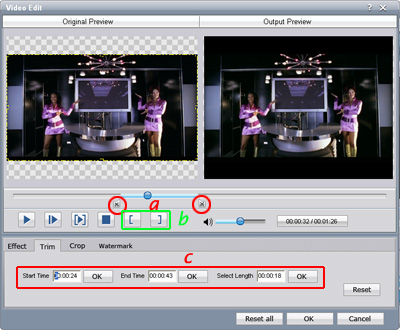
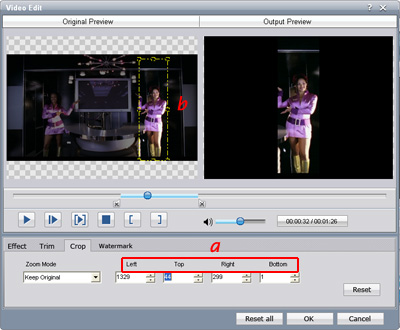
To extract a clip from DVD to iPhone ringtone, you can click button “trim”, set the start time and end time.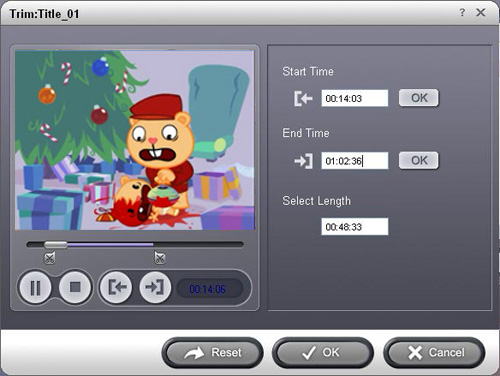
Then click “Start” to extract iPhone ringtone from you DVD, Done.
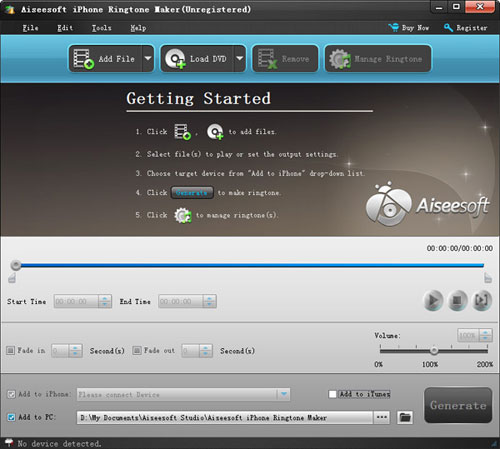
Part 2 How to make iPhone ringtone from videos and songs?
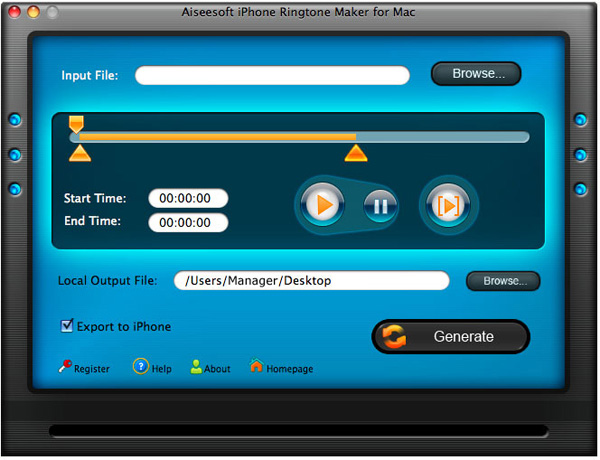
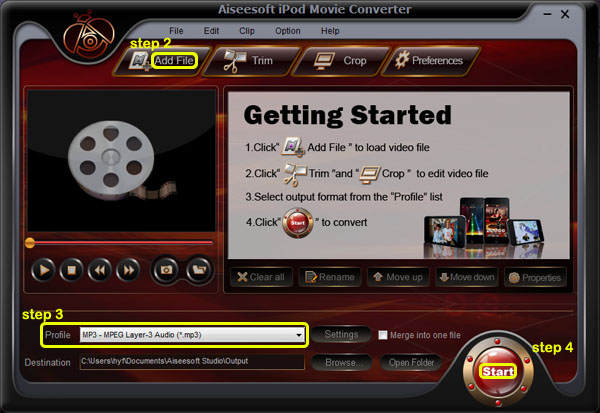
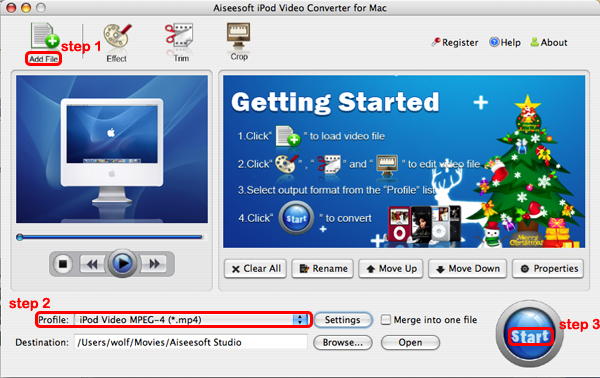
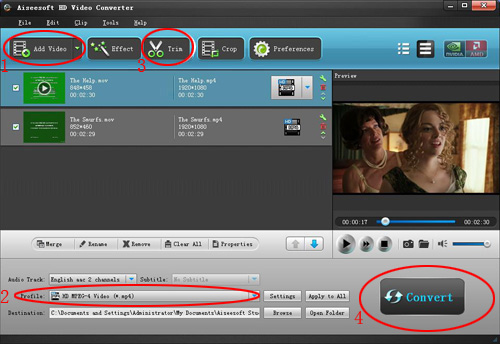
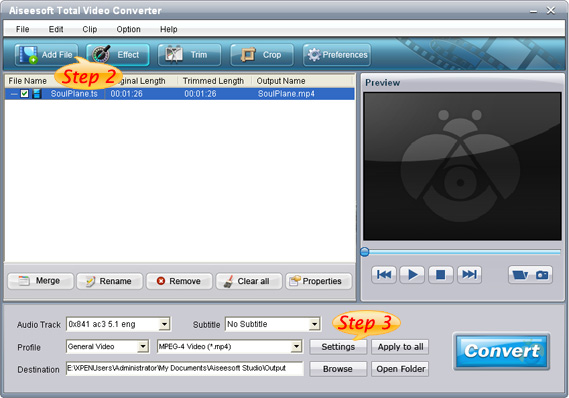
Start Aiseesoft iPhone Movie Converter, then click “Add” button to load video file which you want to extract iPhone ringtone from(You can also load audio file to convert music to iPhone ringtone).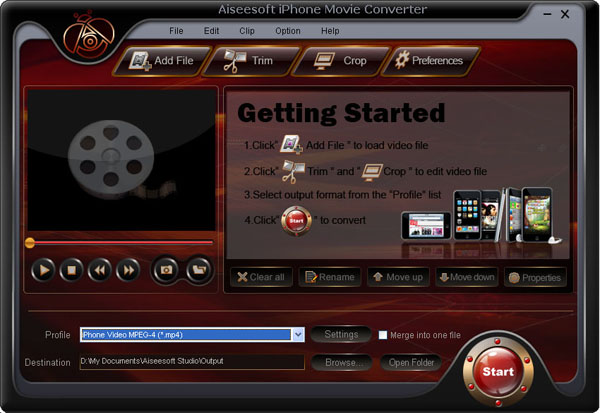
Click drop down list and select iPhone supported format (AAC, MP3, WAV, etc.) you want: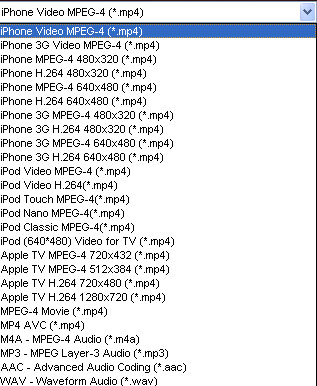
The operation is similar as extracting iPhone audio from DVD with DVD to iPhone Converter, set sample rate, bit rate and other parameters of your iPhone ringtone by click “setting”
Most users’ iPhone ringtone are always short, so you may want to convert a clip from movie to set as ringtone. Click button “trim” to set the start and end point of your iPhone ringtone.
Then click “Start” to convert a clip to iPhone ringtone from your movies or songs.
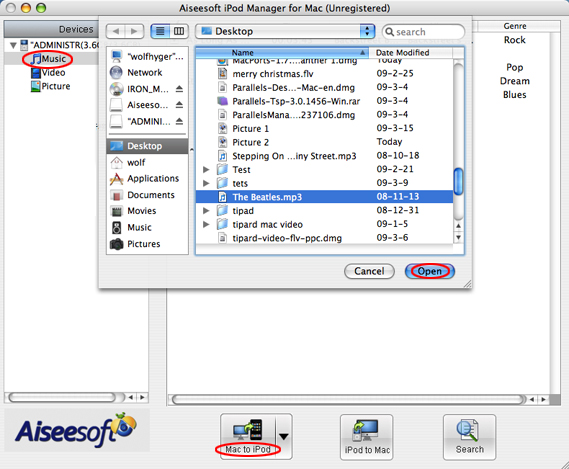
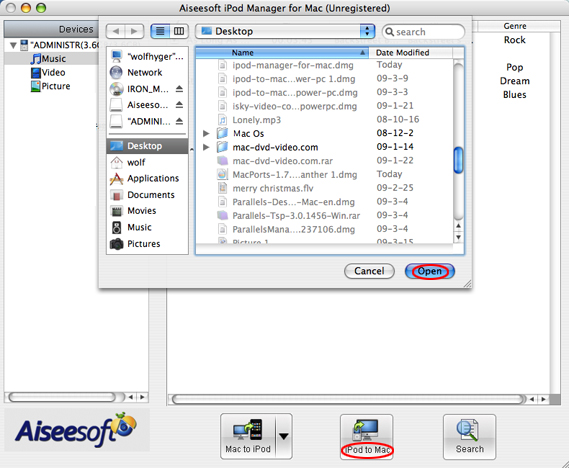
Next part: How to sync/ put ringtone to iPhone/iPhone 3G without iTunes
Free Trial: Download Aiseesoft DVD to iPhone Suite


 More good press for the MacBook Air. Consumer Reports updated its computer ratings earlier this week to include the machine, and while it had some criticisms, it ranked the 11-inch Air and its 13-inch sibling at the top of their respective categories and


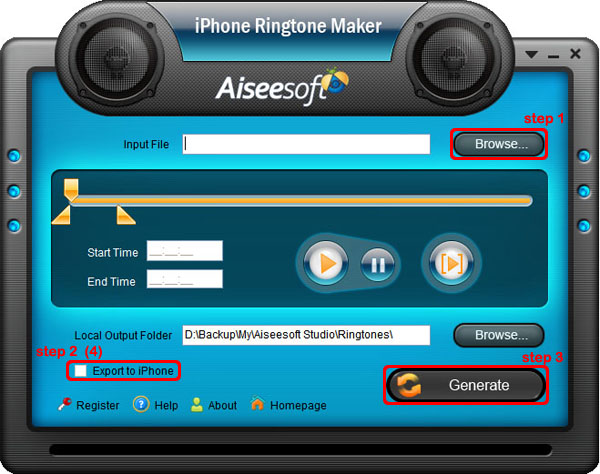
 to listen your whole audio file.>br/>2. a. Drag the “Start Slider” to find where is the beginning of your ringtone and Drag “End Slider” to make an End of it.
 to pre-listen your ringtone.